Your basket is currently empty!
Fence Panels Using Posts
Step by step installation guide
The panels are simply screwed to the posts, taking care to ensure the top of each panel is level.
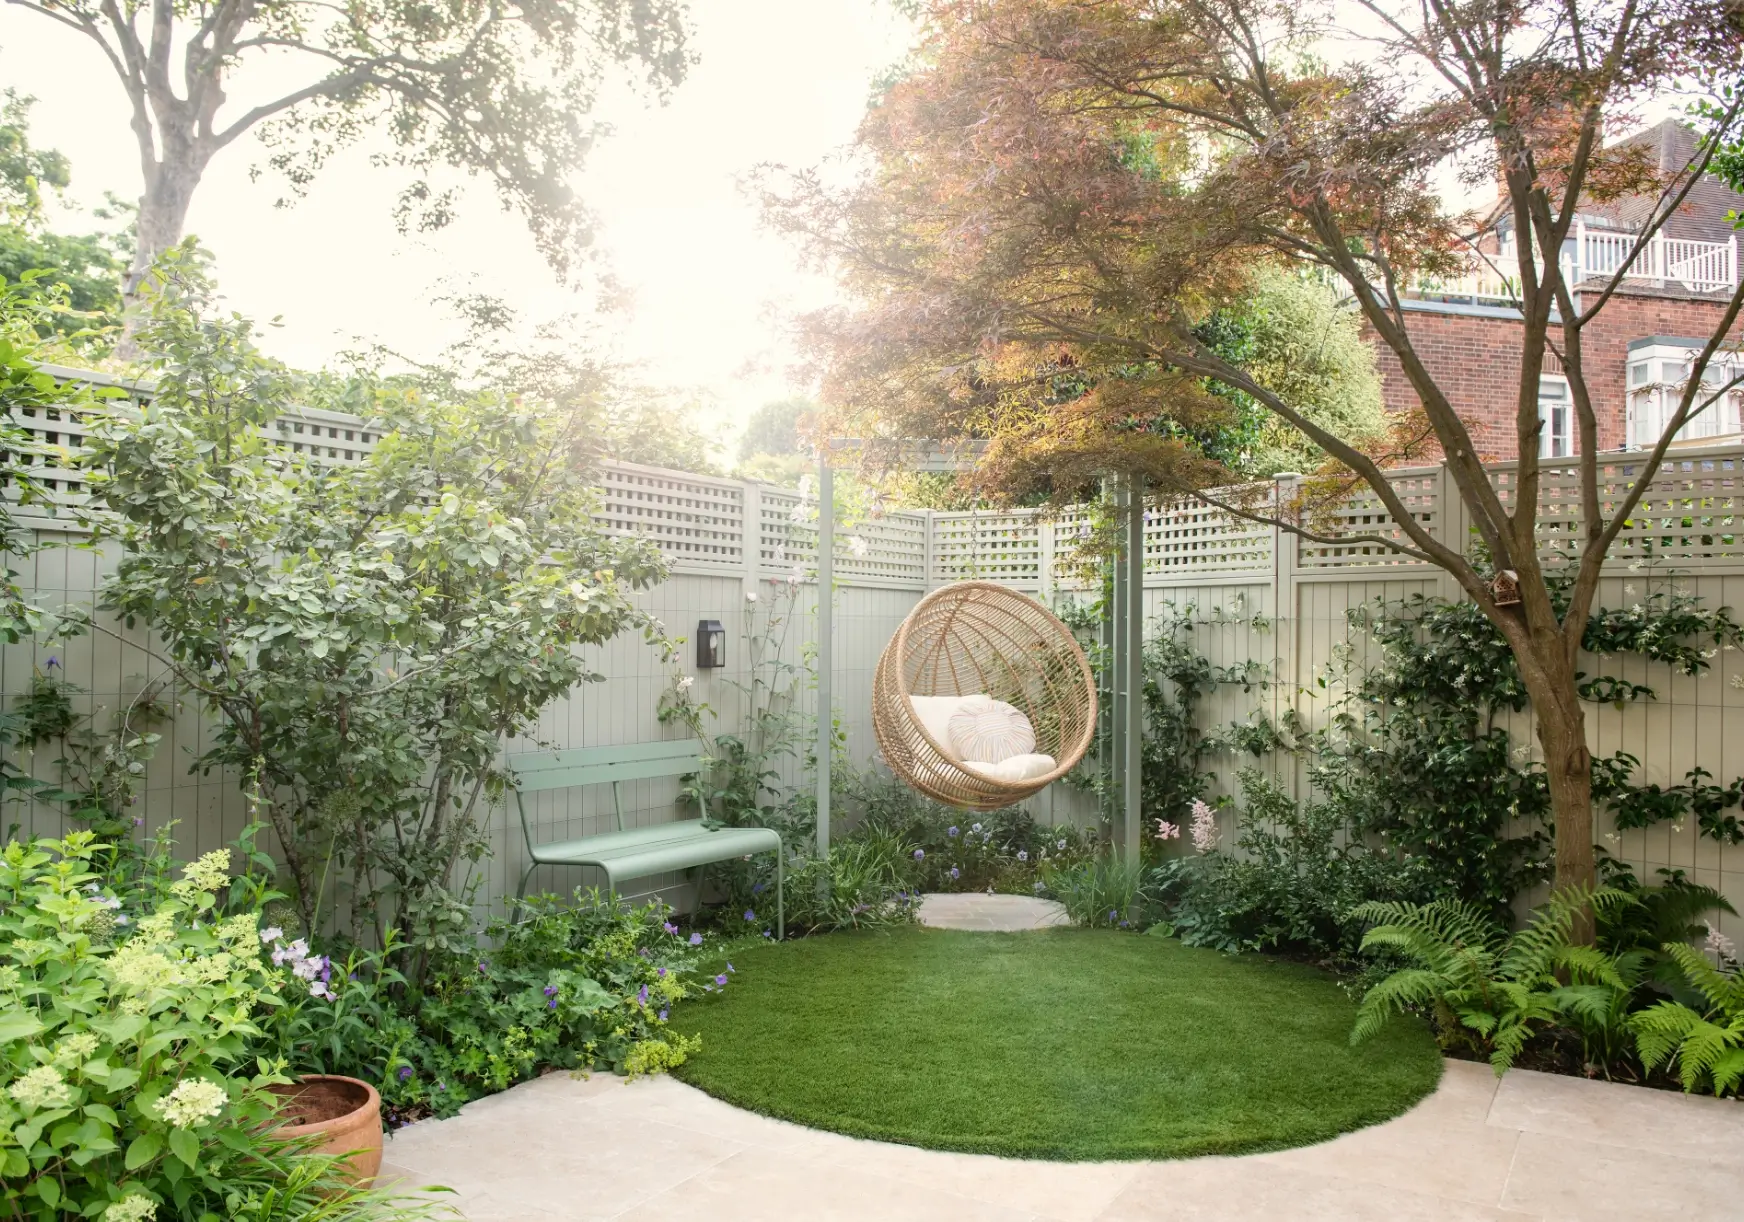
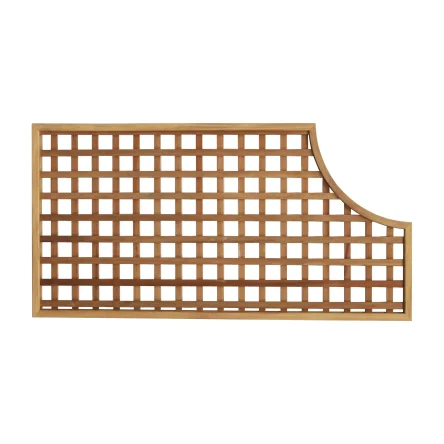
Create additional height with trellis and slatted panels. Trellis panels can be added to the top of the solid panels by using posts long enough to accommodate the height of both the fence and trellis panels and screwing both of them to the posts as normal. Trellis panels add a decorative top to solid fences while providing a more open and light increase in height.
Post caps can then be attached to the top of each fence post. This will serve to protect the end grain and provide a decorative touch, especially when used in conjunction with our acorn finial or ball finial.
Step 1
Use a string line to provide a guide for the position of the posts. Mark out and dig holes for the posts. For our 90mm x 90mm posts we recommend a hole 200mm in diameter by 600mm depth.
(Side view)

Step 2
Insert post. Use spirit level to ensure it is level in both directions and correctly positioned against the string line. Posts need to be set at the correct width.
(View from above)

Step 3
Fill the hole with post mix (use manufacturer’s instructions). Adjust post into position and support until post mix sets.
(Side view)
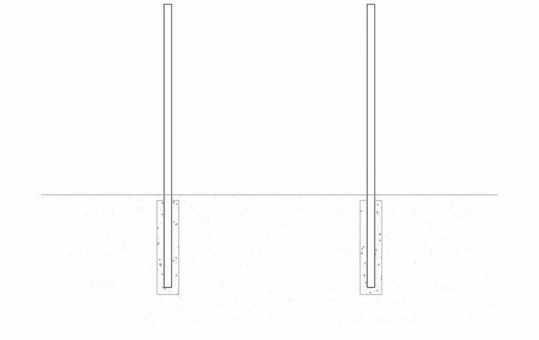
Step 4
Please check that tops of each post are at a uniform height, unless there is a change in heights required.
Step 5
Repeat steps 2-4 as needed. Use spirit level to check each post is at correct height for panels.
(View from above)

Step 6
Screw panels into posts through the frame using 4.5mm x 70mm stainless steel screws for our solid panels and 4.5mm x 100mm for our heavy duty panels (minimum 3 per side into the side of the post) ensuring the top of each panel is level.
(Side view)
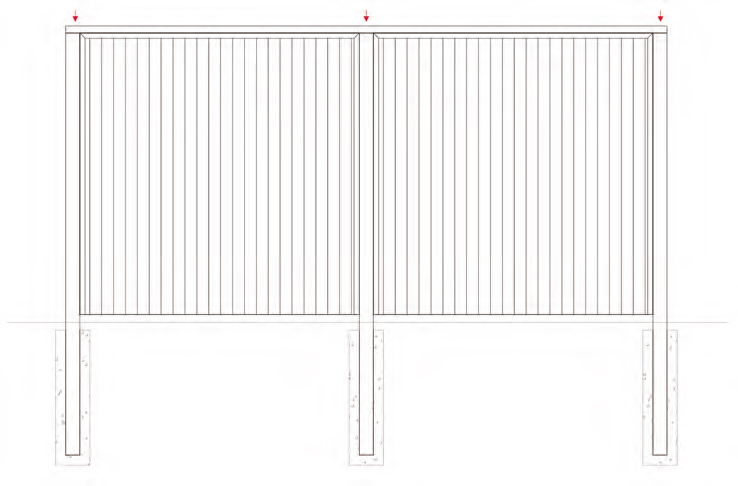
(View from above)

Step 7
Screw panels into posts through the frame using 4.5mm x 70mm stainless steel screws for our solid panels and 4.5mm x 100mm for our heavy duty panels (minimum 3 per side into the side of the post) ensuring the top of each panel is level.
Giving you ideas and inspiration
Make a statement with our elegant garden trellis designs
New products
The latest timber garden products from our store

Sign up to our newsletter
Get regular inspiration and be the first to know about special offers
