Your basket is currently empty!
Vista Screen Inspiration

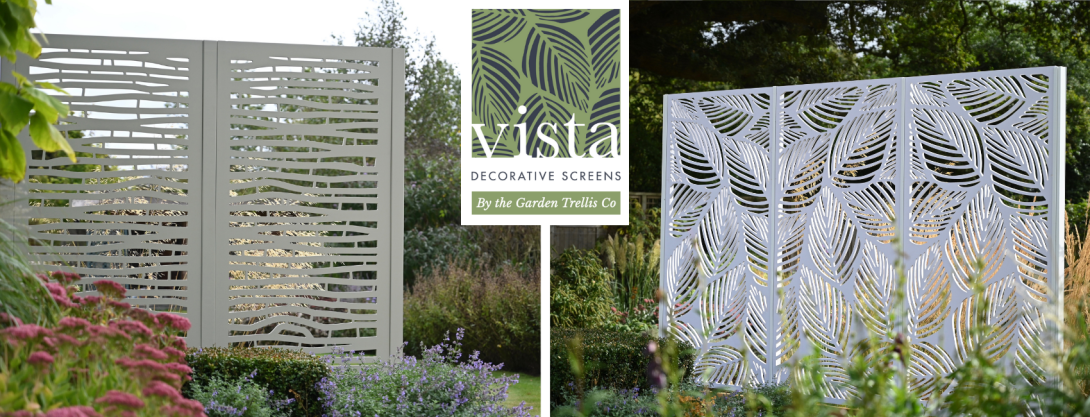
We are excited to have launched our range of Vista decorative screens this summer. We have enjoyed experimenting with them and discovering the range of ways they can be used to give your garden that creative touch. We have put together a list of some of the ways they can look great, to help give inspiration for your next garden improvement project.
Ground Fixings
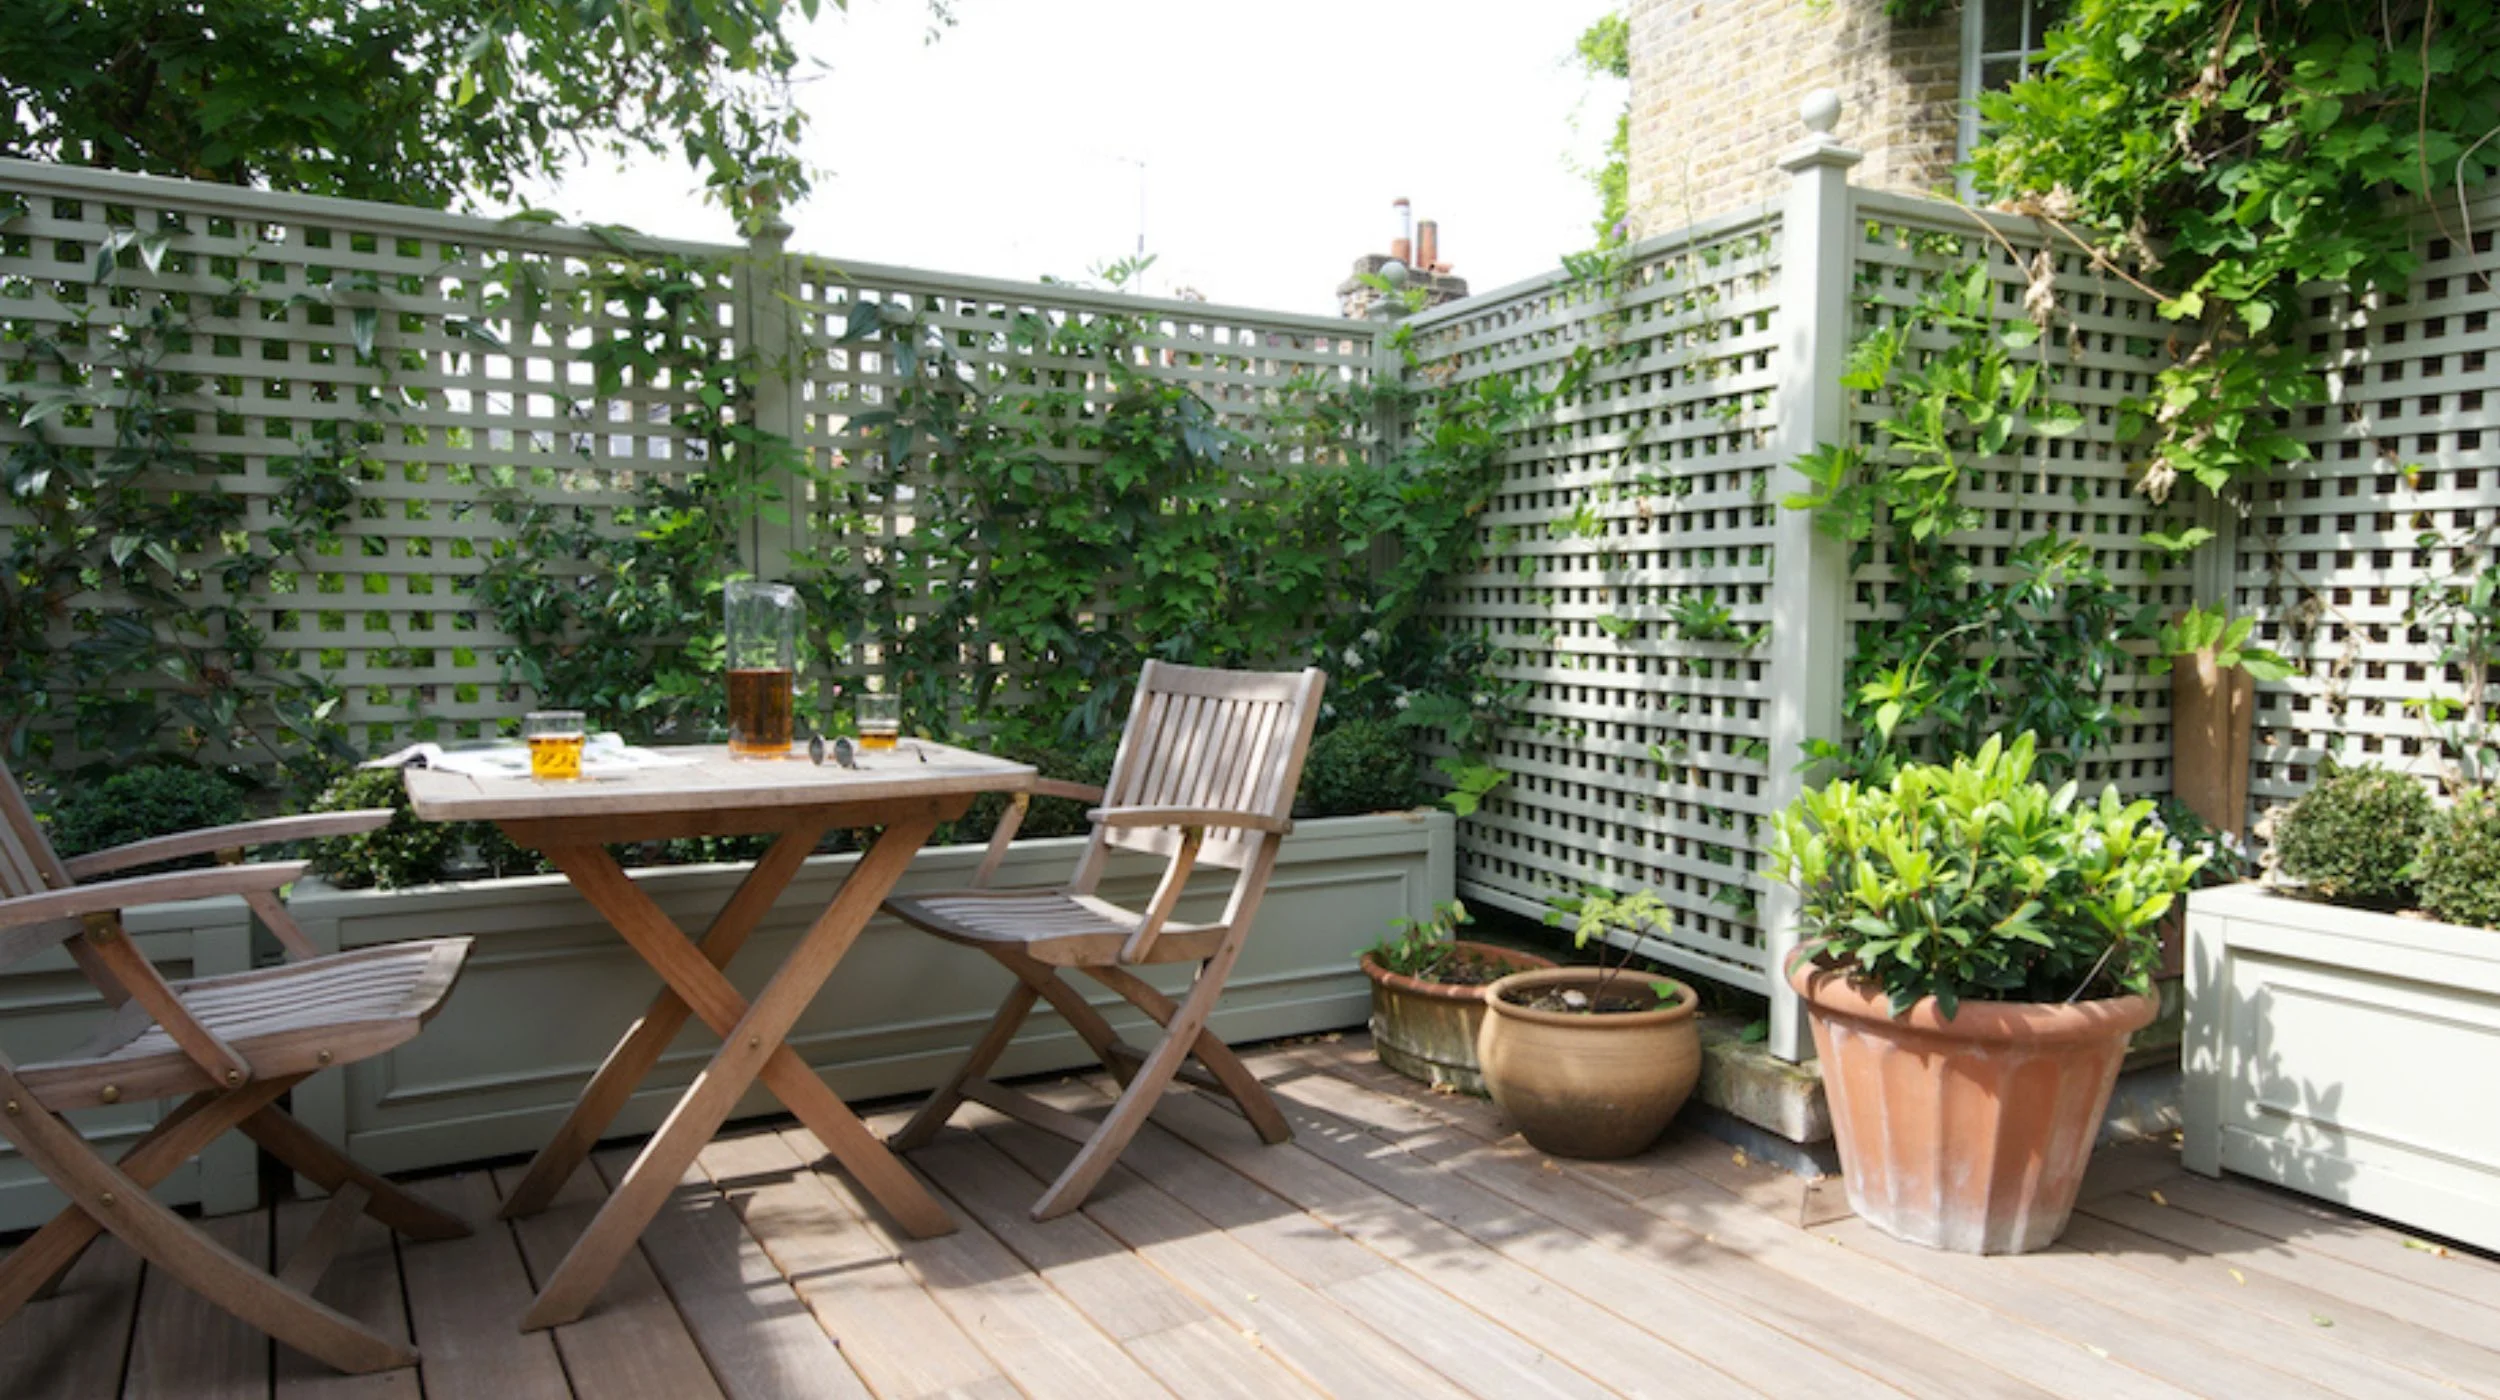
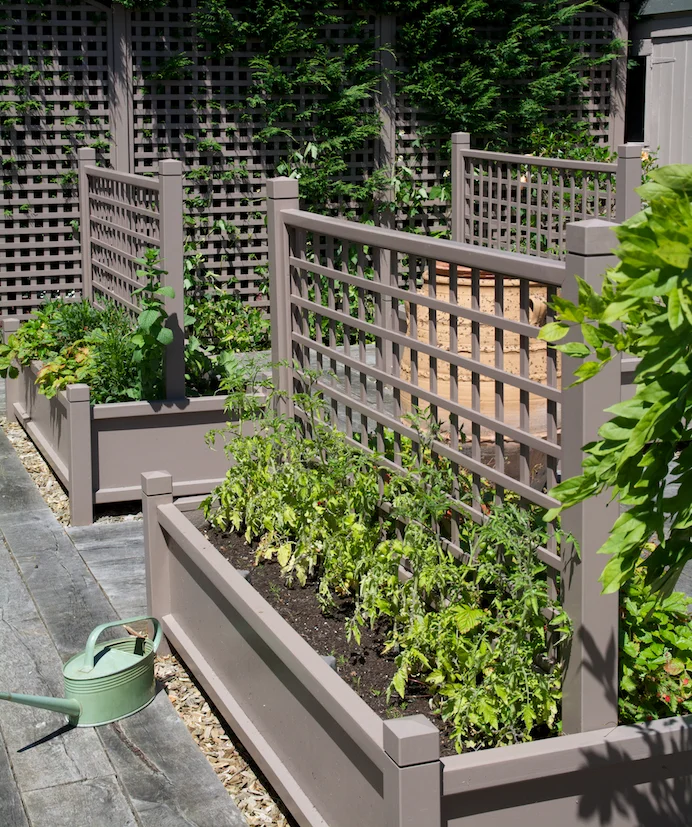
Dividing the space in a garden creates sections which can increase privacy in key areas, bring structure to the overall design and help achieve the desired tone. Fixing dividing screens into the ground can be a great way of executing a division of the space. It could be done at the border of a grass or paving area, splitting the two, or at the back of a garden to shield compost bins or the shed from view.
If you decide that fixing the screens into the ground is how you would like to proceed, please review some suggestions below for the different ways this can be done. Common to all of them is the installation of posts into the ground which act as the supports. The posts can either be timber or metal, depending on your preference.
- Face-Fixed to Posts
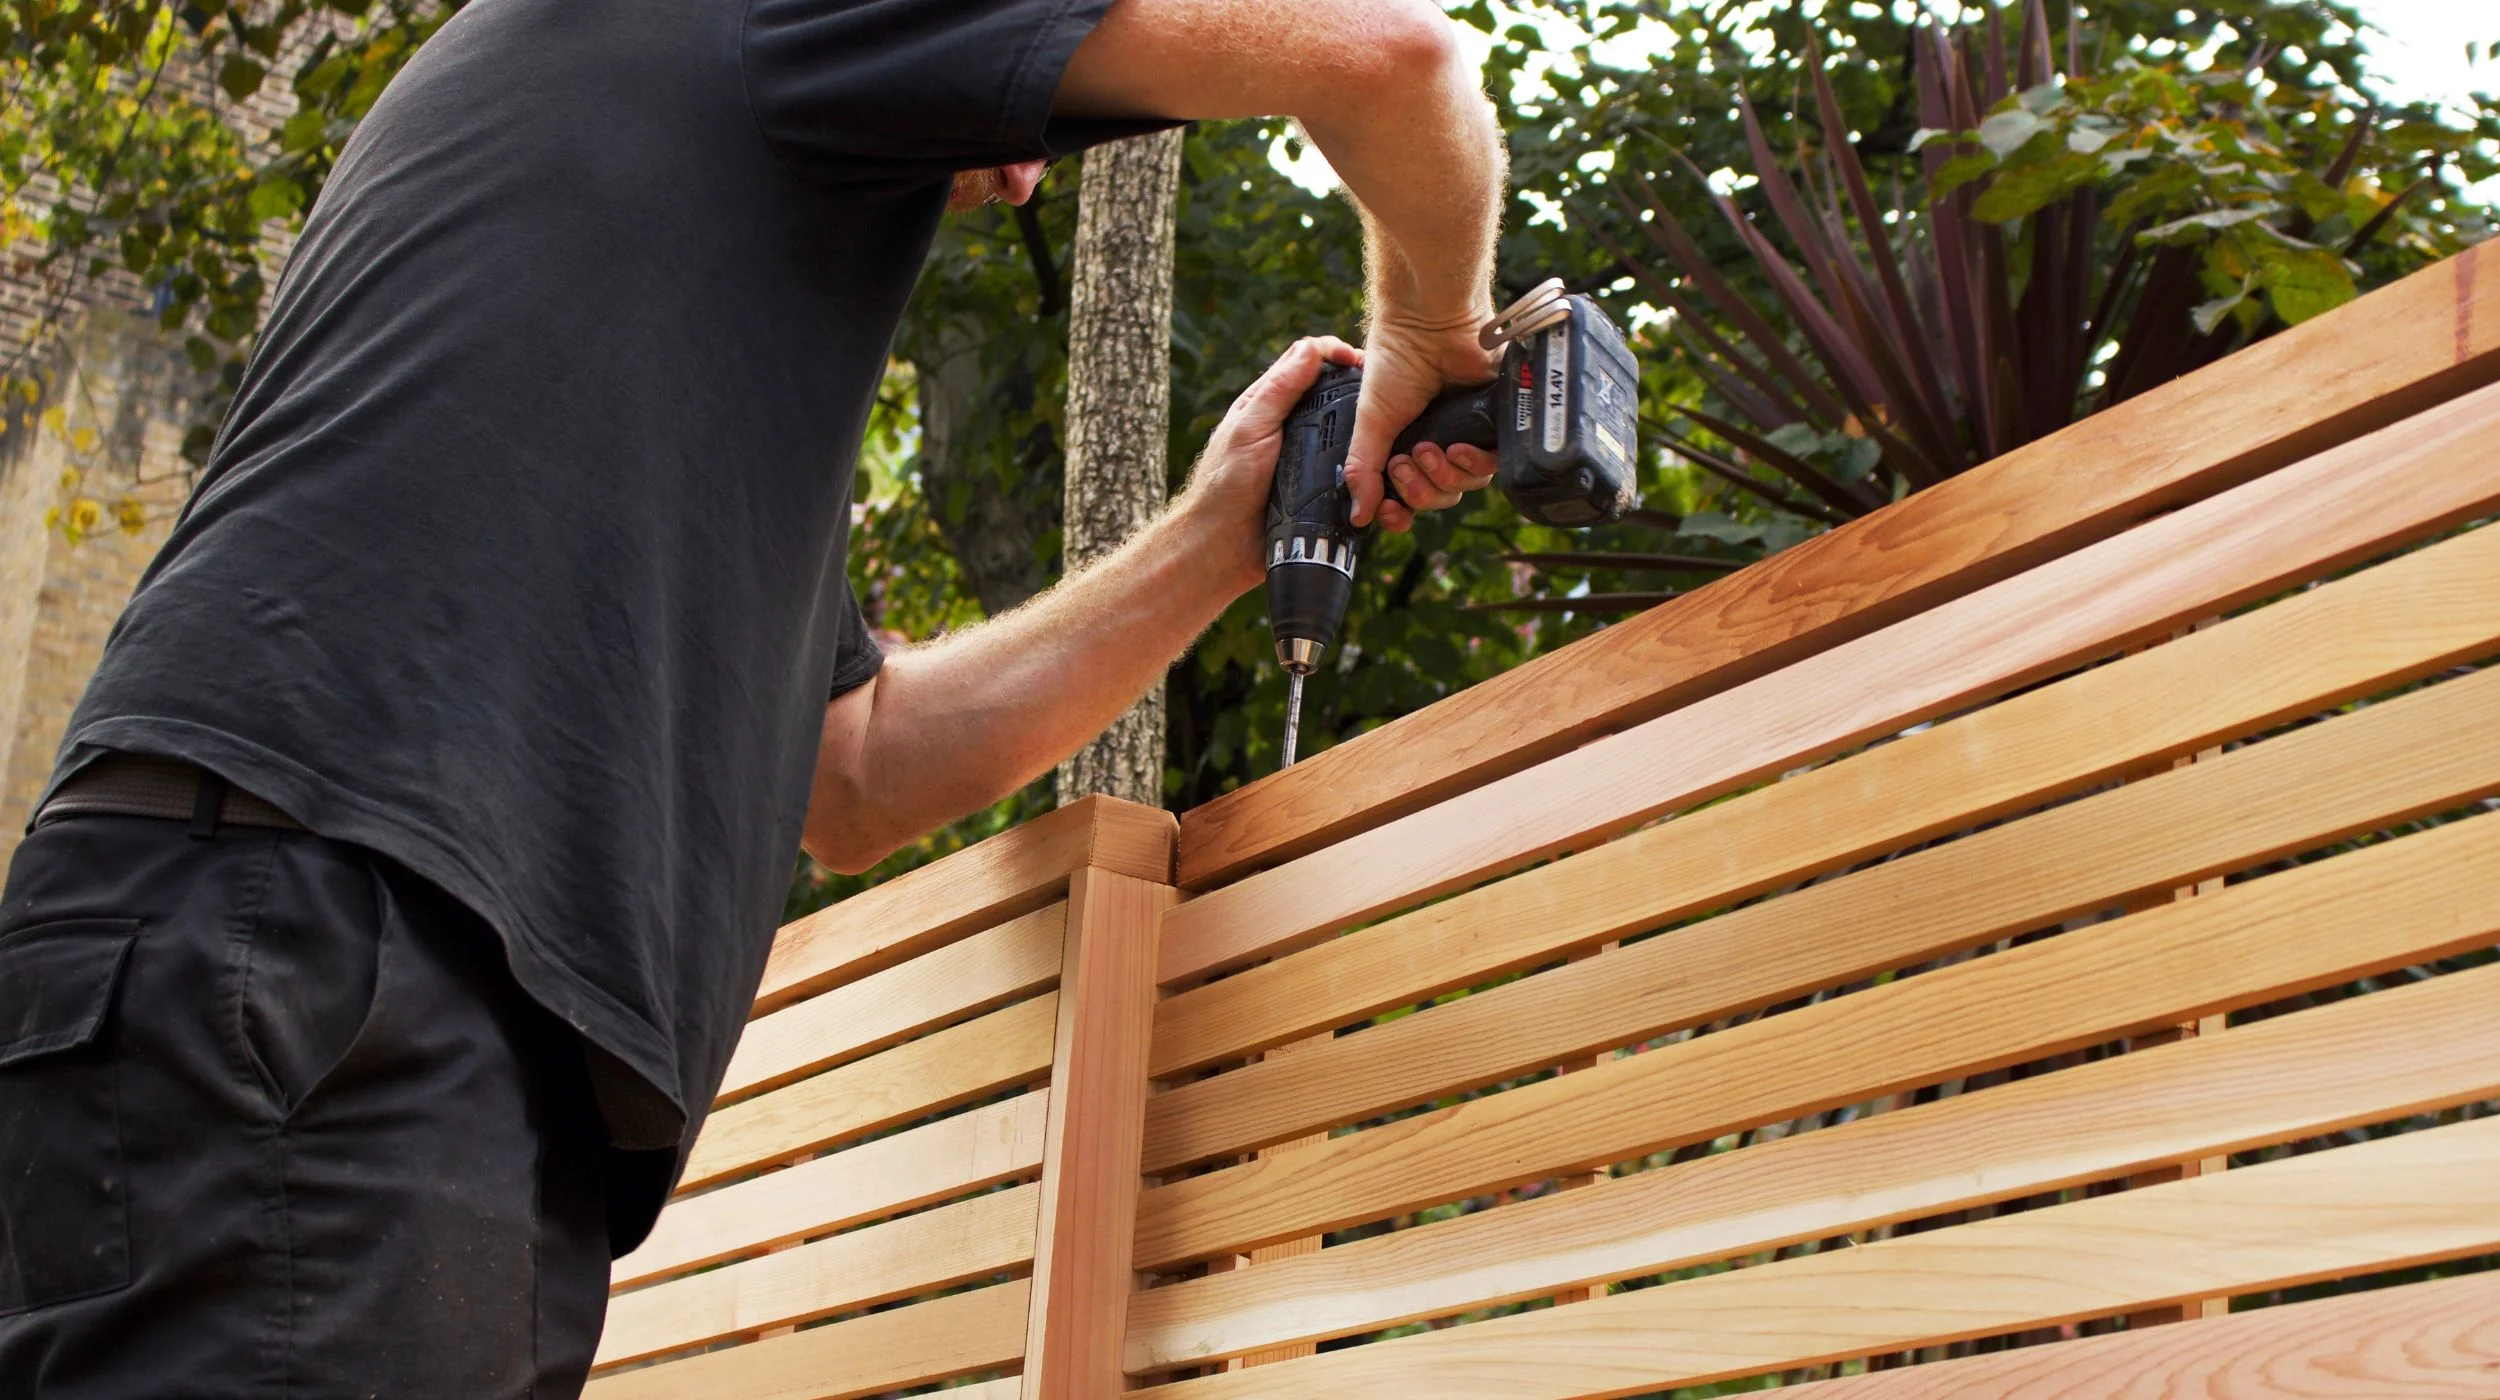
To emphasise your chosen Vista screen’s design and to give a continuous look, you might consider face-fixing the screens to the posts. The patterns can be arranged to repeat or made to mirror their symmetrical counterpart which can create a new larger pattern which is then repeated every two screens. The face-fixing method can also be used with the screens rotated horizontally. A timber cap running along the top of the screens can be installed to provide a clean line top border.

- Fixed Between Posts
An alternative method is to fix the Vista screens between the posts. This provides a break to the eye, and gives a regular, ordered look to the screens. The visibility of the posts can also provide an added solidity to the impression given by the screens. Adding Top Capping here really gives the screens a quality finish and helps to stiffen them.

Wall Fixings
Affixing a Vista screen atop a wall can provide that extra layer of privacy in your garden from the neighbouring gardens or from the road. They can provide shade and provide a platform on which plants are able to grow to border your walls, tying parts of the garden together and increasing nature’s presence above eye level.
There are a number of ways of installing the posts which support the screens into the walls. Depending on the placement and ownership of the wall, the posts can be hidden from view or installed on the facing side of the wall. As with the ground fixings, when placed above the wall, screens can be fixed between posts or face-fixed.

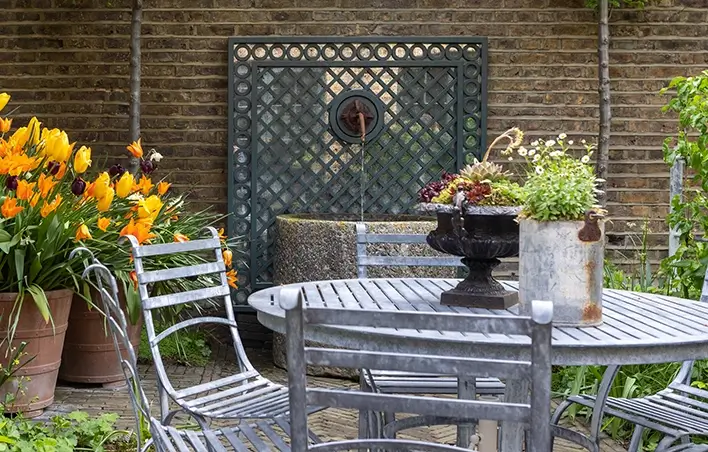
The Vista screens can also be used as a design feature on walls themselves, creating a visually stimulating backdrop and allowing for plant growth. Fixing is simple, just screw them to the wall or use our timber fixing strips to allow the screens to be fitted with a small gap between the wall and the screen.

Pergola Fixings
Another design we loved the look of was where the Vista screens were used in conjunction with a pergola, with the crossbeam raised from the tops of the screens. Simply add the vista panels to the sides of a pergola structure, creating privacy and, depending on the style chosen, wind protection. Vista panels could also be used to provide shade if fitted to the top of the pergola roof beams.

Help and Support
These are but a few of the many ways the Vista screens can be used, also making for stylish bespoke gates, and easily incorporated into larger projects. The Vista screens can also be framed, should an even more solid look be desired. This can be requested and arranged for over the phone.
For instances where dimensions of the panels do not fit into your space, we are able to cut them down using measurements the client provides. We would note, however, that panels will be cut to the exact width and height requested and that this will remove some of the pattern and symmetry.
As always, if you would like any further assistance or advice, you can contact our support team on 01255 688361 or email us on [email protected]. Once you have decided on how best to style your screens, be sure to refer to our installation guides.
