Your basket is currently empty!
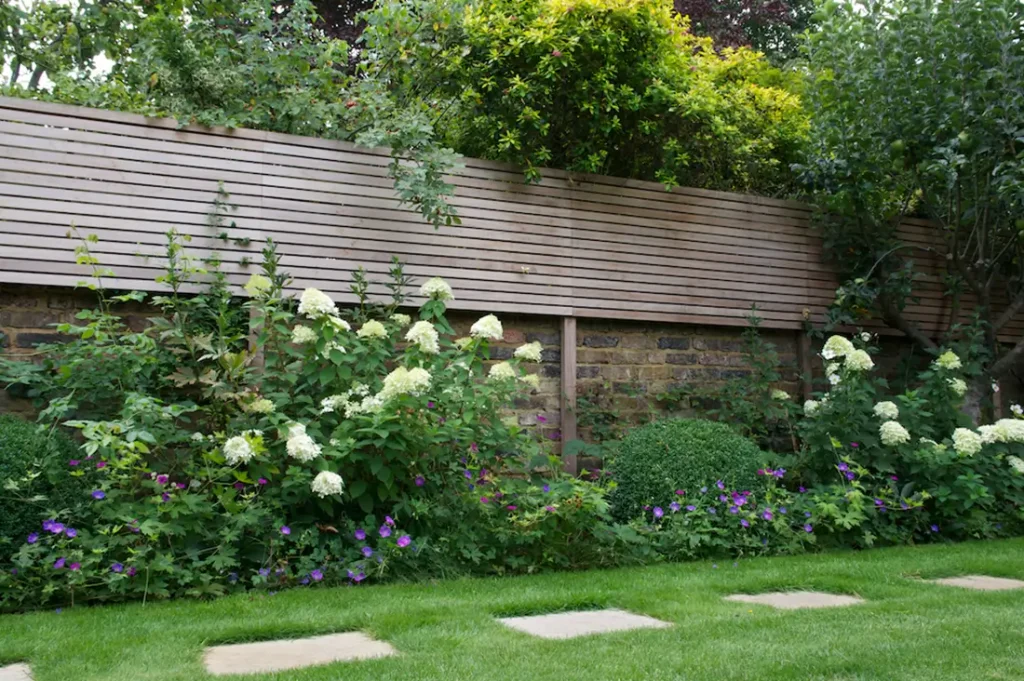
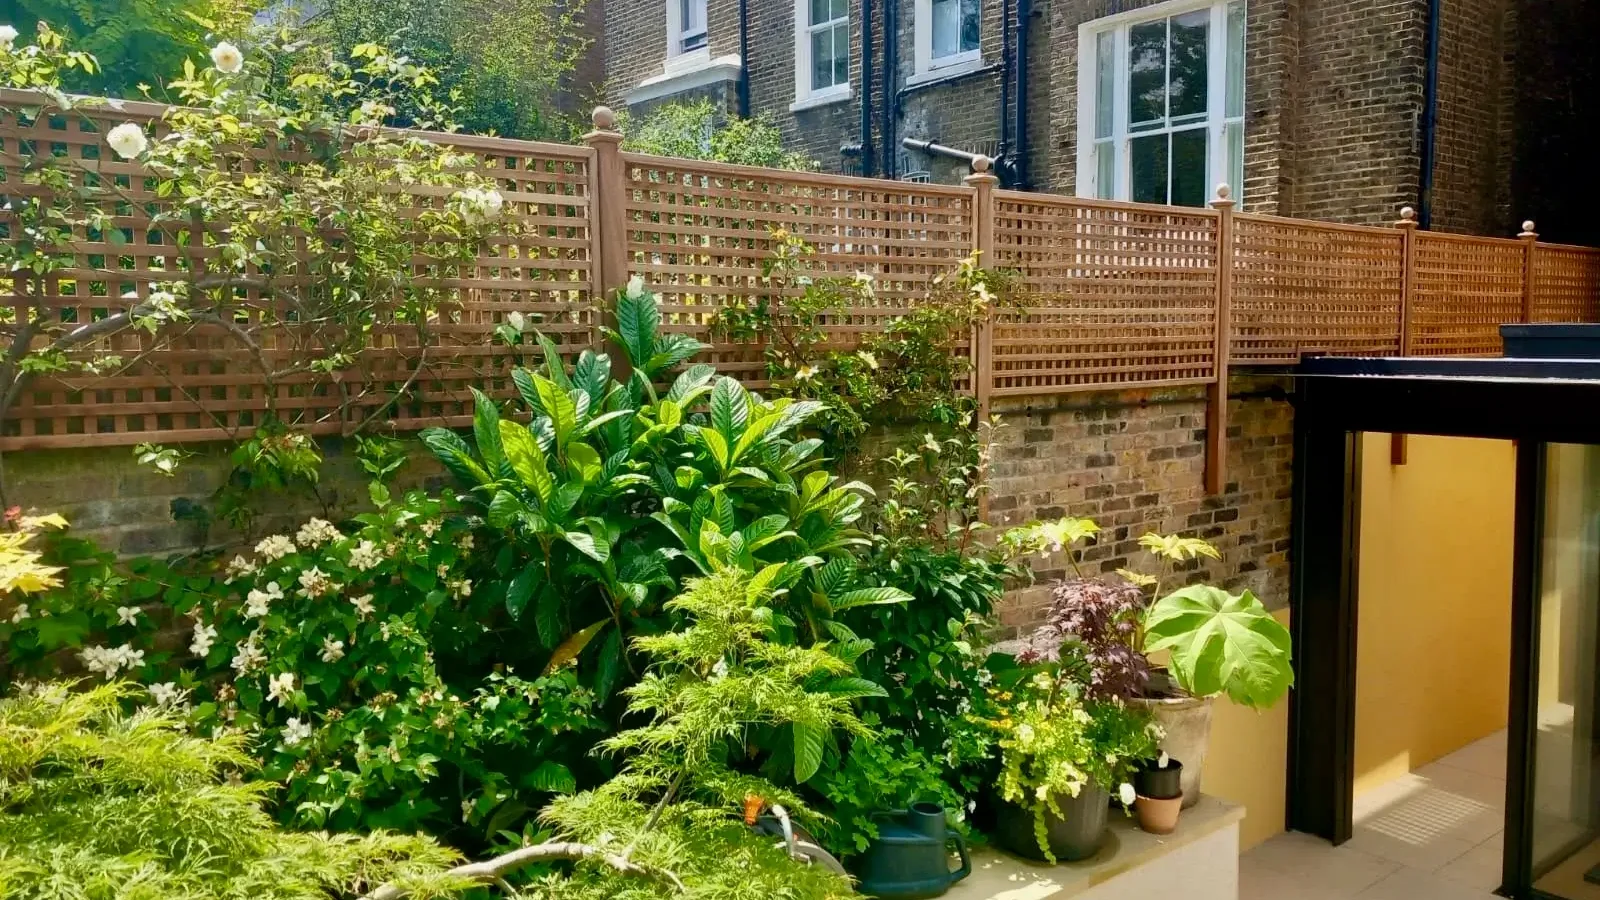
Installing slatted trellis panels is a fantastic way to add privacy, structure, and style to your garden. Whether using them for screening, zoning, or supporting climbing plants, a well-installed trellis can significantly enhance your outdoor space. This guide will walk you through the step-by-step process, ensuring a sturdy and professional-looking installation.
Tools and materials needed for installation
Before you begin, gather the necessary tools and materials to make the process smoother:
Tools:
- Tape measure
- Spirit level
- Drill and appropriate drill bits
- Screwdriver
- Saw (if cutting panels to size)
- String line
- Pencil for marking positions
- Safety gloves and goggles
Materials:
- Slatted trellis panels
- Wooden or metal posts (depending on your installation method)
- Brackets or batten strips
- Exterior-grade screws
- Plastic rawl plugs if fixing to a brick wall
- Postcrete (if installing freestanding posts)
- Paint & Primer if required to apply to any cut timber
- Climbing plants (if incorporating greenery)
Having all these items ready will make the installation more efficient and prevent unnecessary delays.
Step-by-step guide to installation
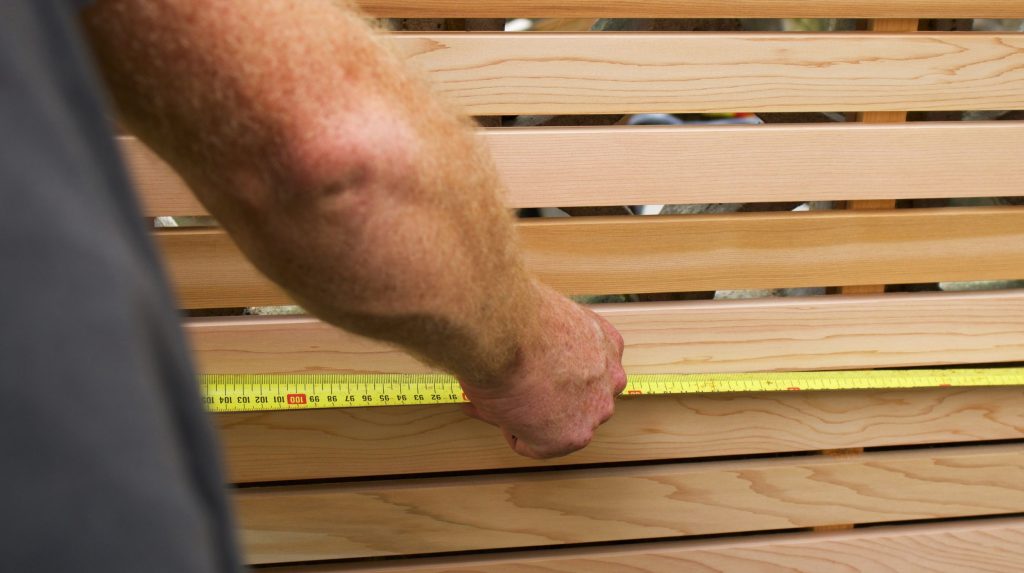
Step 1: plan and measure the installation area
Start by measuring the space where you want to install the trellis. Ensure your chosen panels fit within the area and determine whether they will be fixed to a wall, fence, or freestanding posts.
- Mark where the panels and posts (if needed) will go using a pencil and tape measure.
- Use a string line and spirit level to ensure straight lines and even positioning.
Step 2: prepare the mounting surface
- If fixing to a wall or fence, check that the surface is stable and secure.
- If installing freestanding posts, dig holes approximately 60cm deep and secure the posts with Postcrete, following the manufacturer’s instructions.
- Allow the concrete to set before attaching the trellis – rapid set postcrete allows for installation within an hour.
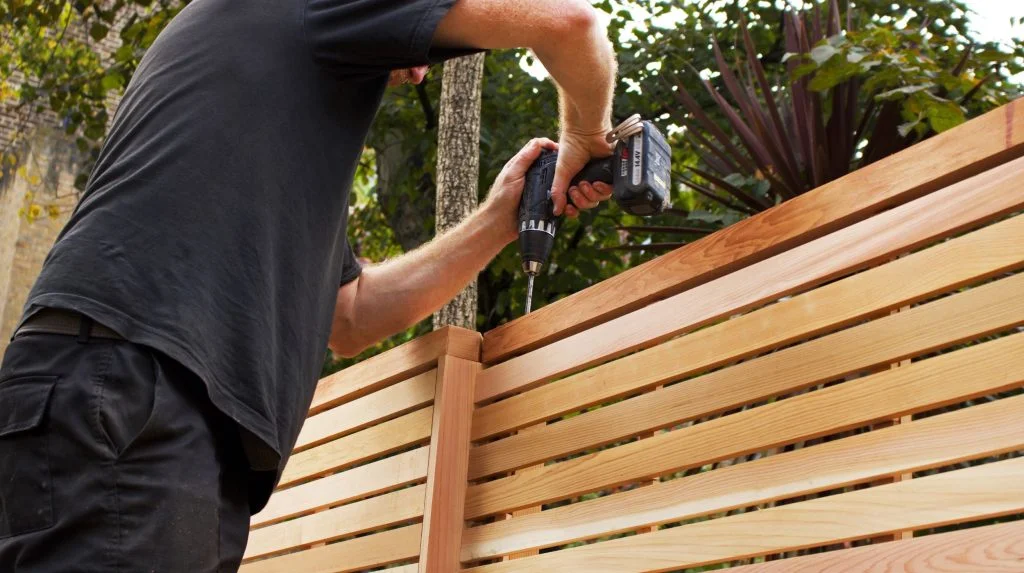
Step 3: attach the trellis panels
- Position the trellis panels against the posts or wall.
- Drill pilot holes before inserting screws to prevent splitting the wood.
- If attaching directly to a fence, battens may be used for additional support.
- If fixing to a wall, mark and drill holes into the brickwork.
Step 4: check alignment and stability
- Once all panels are secured, step back and check that they are level and evenly spaced.
- Tighten any loose screws and make final adjustments as needed.
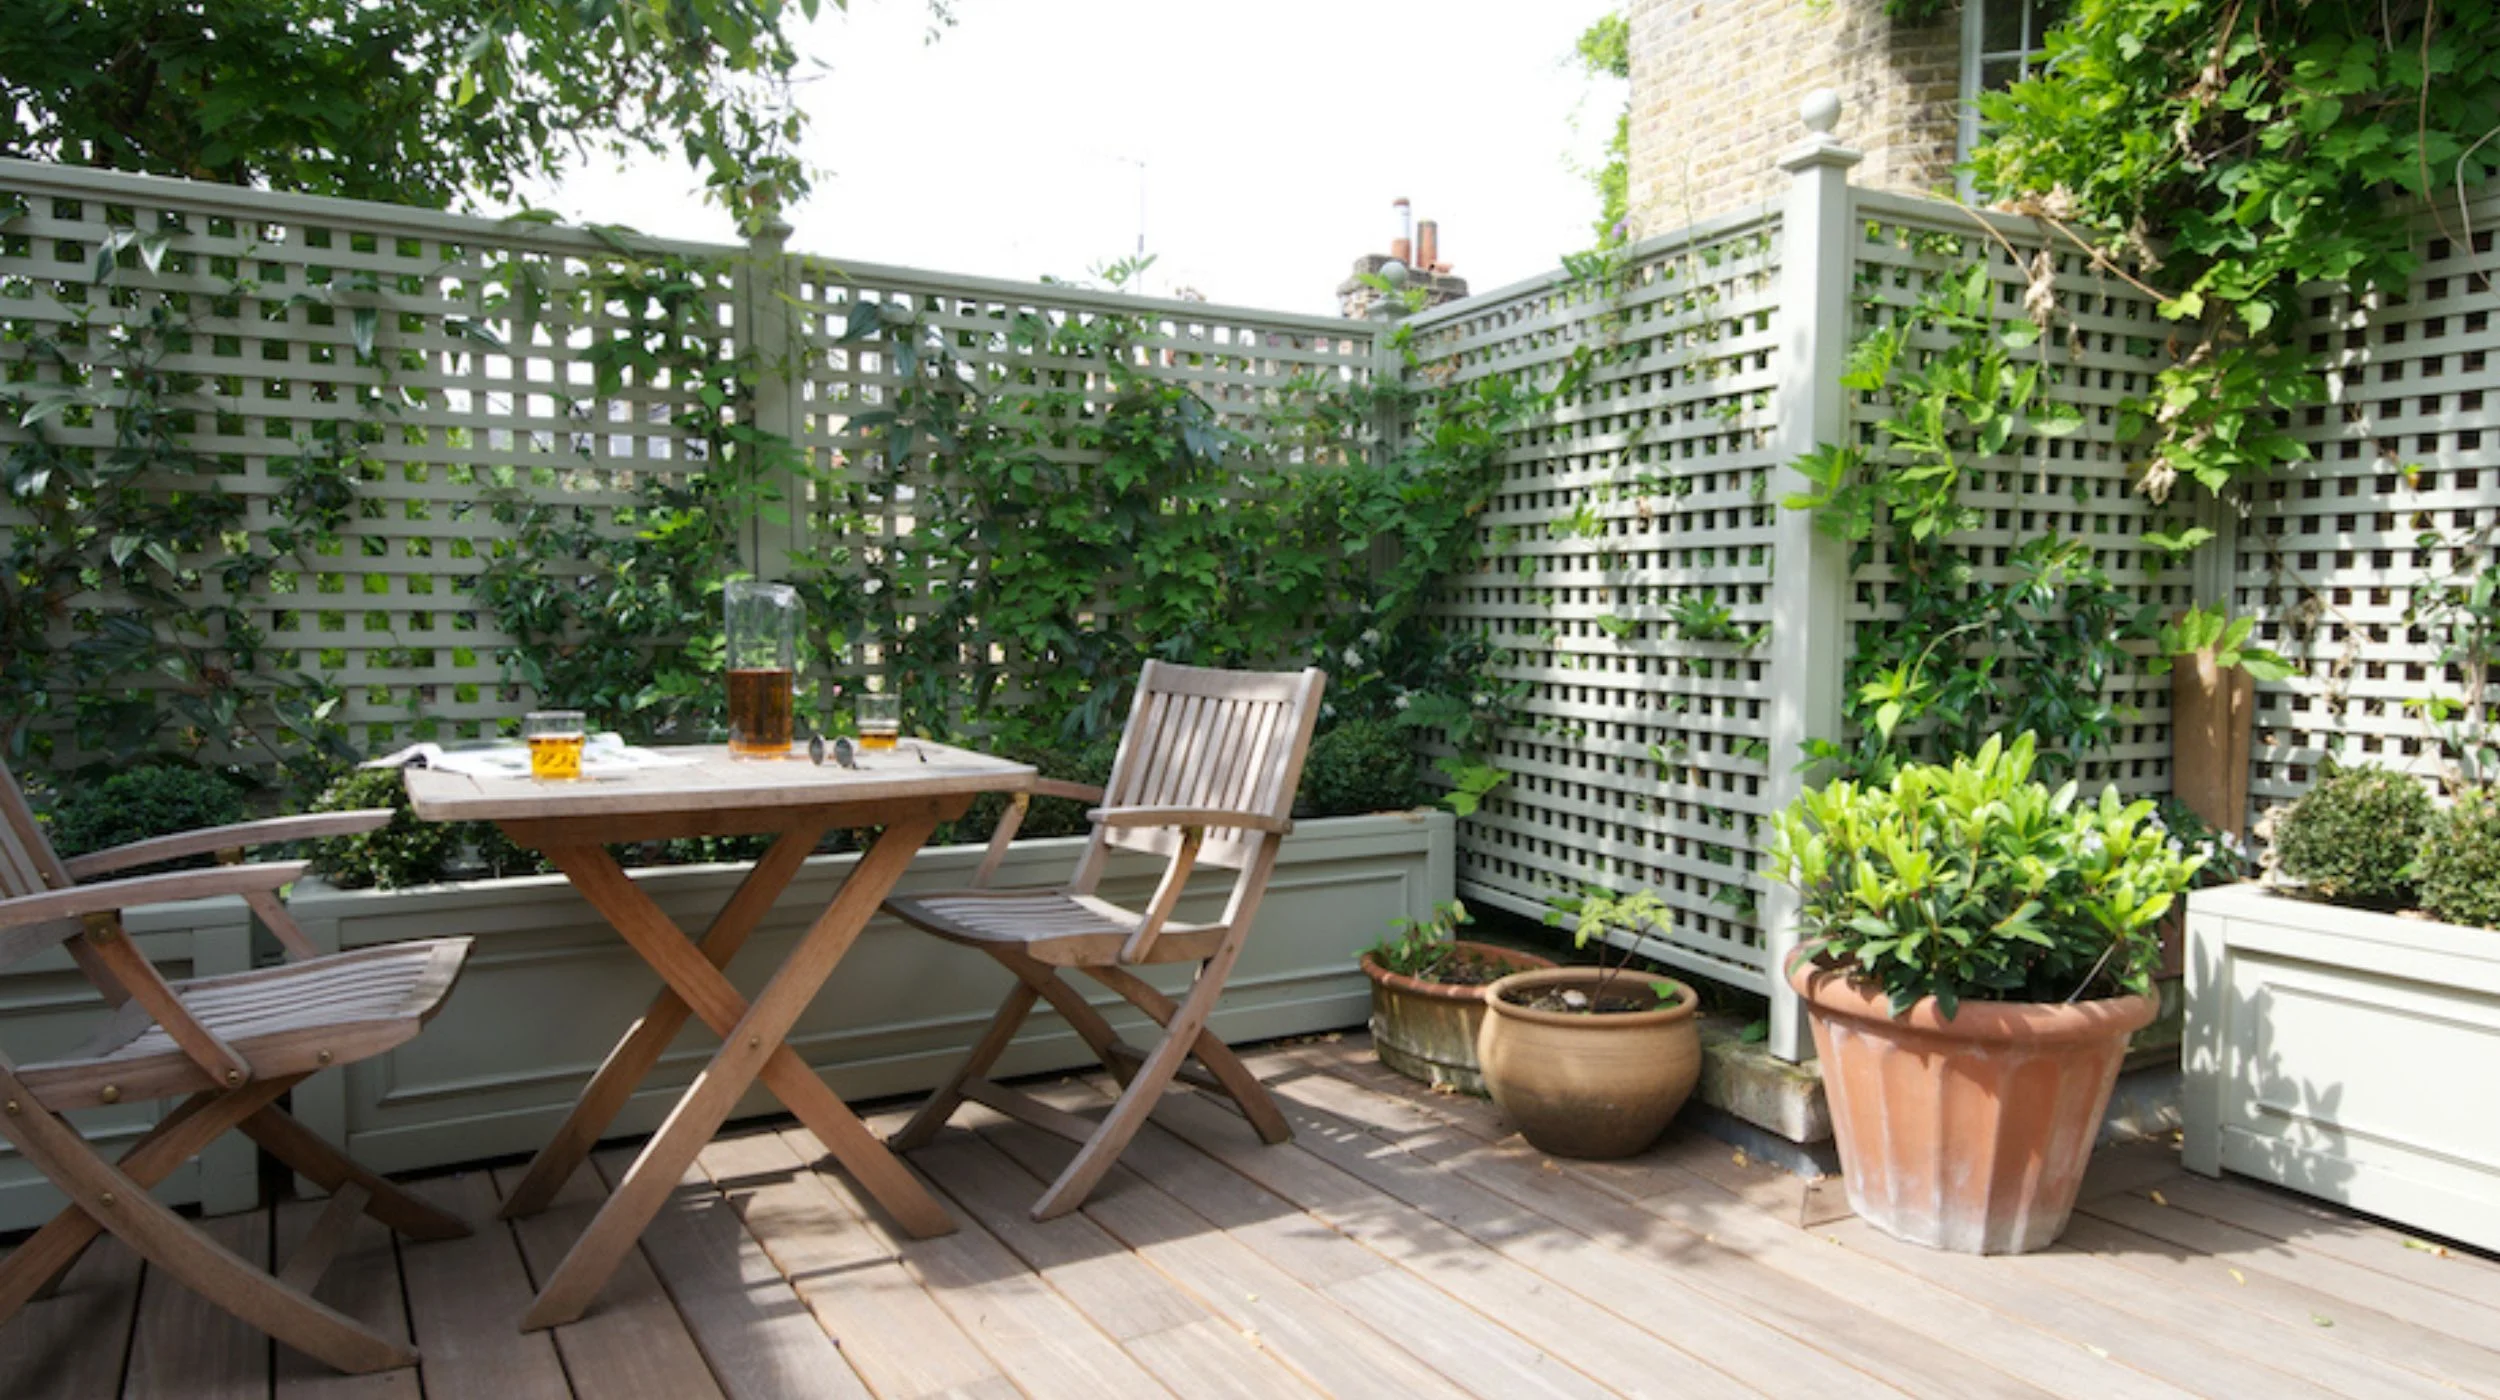
Step 5: finishing touches
- Treat wooden panels with a preservative or paint to help protect against weathering.
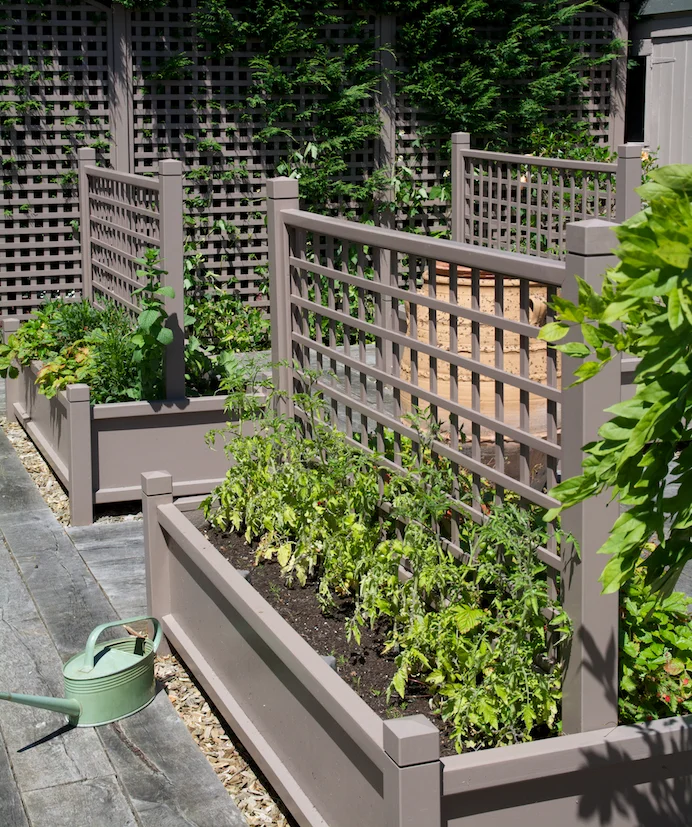
- If incorporating climbing plants, position them at the base of the trellis and gently tie them to the structure as they grow.
Following these steps will ensure a secure and aesthetically pleasing installation that lasts years.

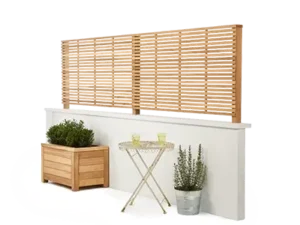
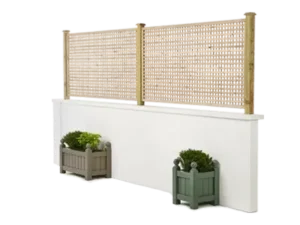
Shop our slatted trellis panels
Transform your outdoor space with our high-quality slatted trellis panels. Our range offers stylish and durable options for privacy, decoration, or plant support. Explore our collection of trellis panels today and get started on your garden upgrade.


Recommendations for related products
To ensure durability and ease of installation, consider these essential accessories:
- Fixings – High-quality fixings and raw plugs provide extra stability for your trellis and slatted panels.
- Weatherproof Screws – Designed for outdoor use to prevent rusting and corrosion.
- Paints & Primers – Add some protection and a touch of colour to your wooden trellis panels.
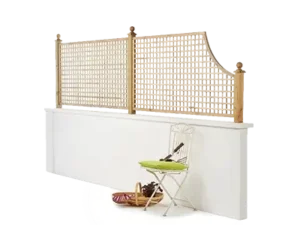
- Finials & Cappings – Complete your installation with our range of Finials & Post Caps. As well as creating a quality look, these also protect the end grain.
Browse our range of trellis installation accessories to find everything you need for your project.
Installation Guides
We have created a range of installation guides which take you through various options for installing trellis panels correctly.
The information here and in our installation guides is offered as a reference only. If, after reading, you are unsure of how to install your garden timber products we recommend contacting a landscape professional or choosing our installation service.
Not a fan of DIY?
Take the hassle out of the process by choosing our professional installation service. Our highly experienced team can install your slatted trellis panels for you. Get in touch with us today for a quote.


Sign up to our newsletter
Get regular inspiration and be the first to know about special offers